In order to upload custom audiences to your Google Ads account for targeting, you will need to link your Ads account to MeetPAT.
Follow the steps below in order to sync MeetPAT with your Google account:
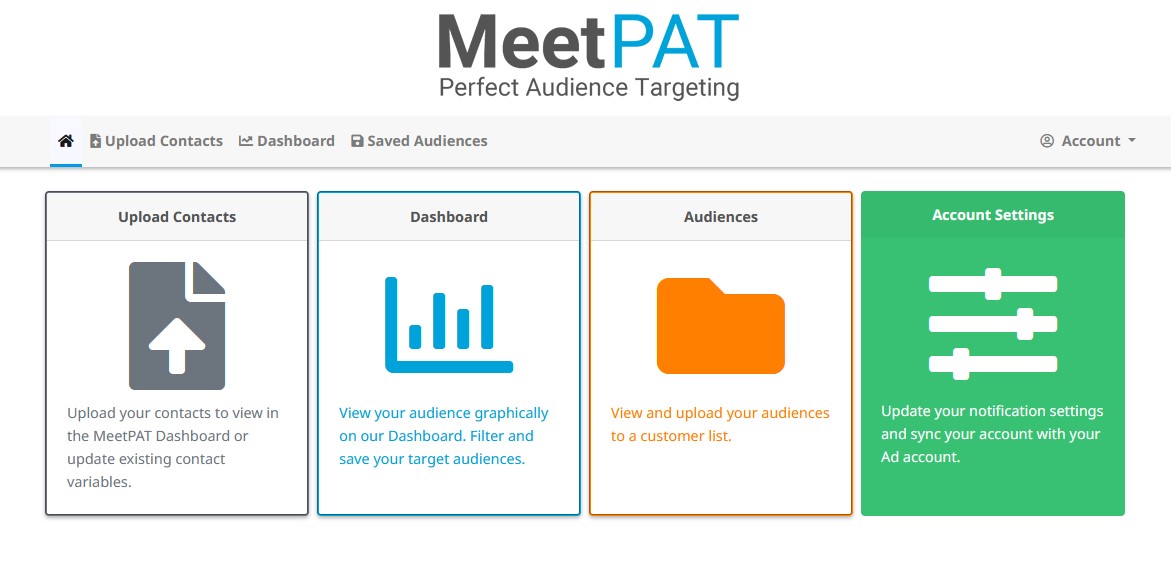
1: Log into MeetPAT and click on the “Settings” button on your home page.

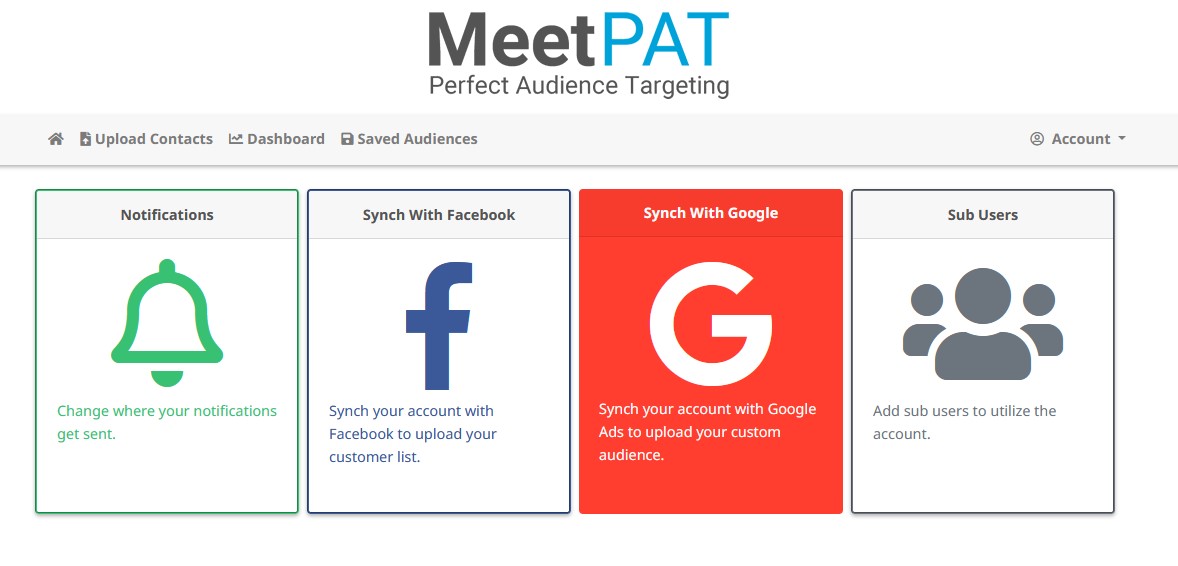
2: Click on the “Sync With Google” button.
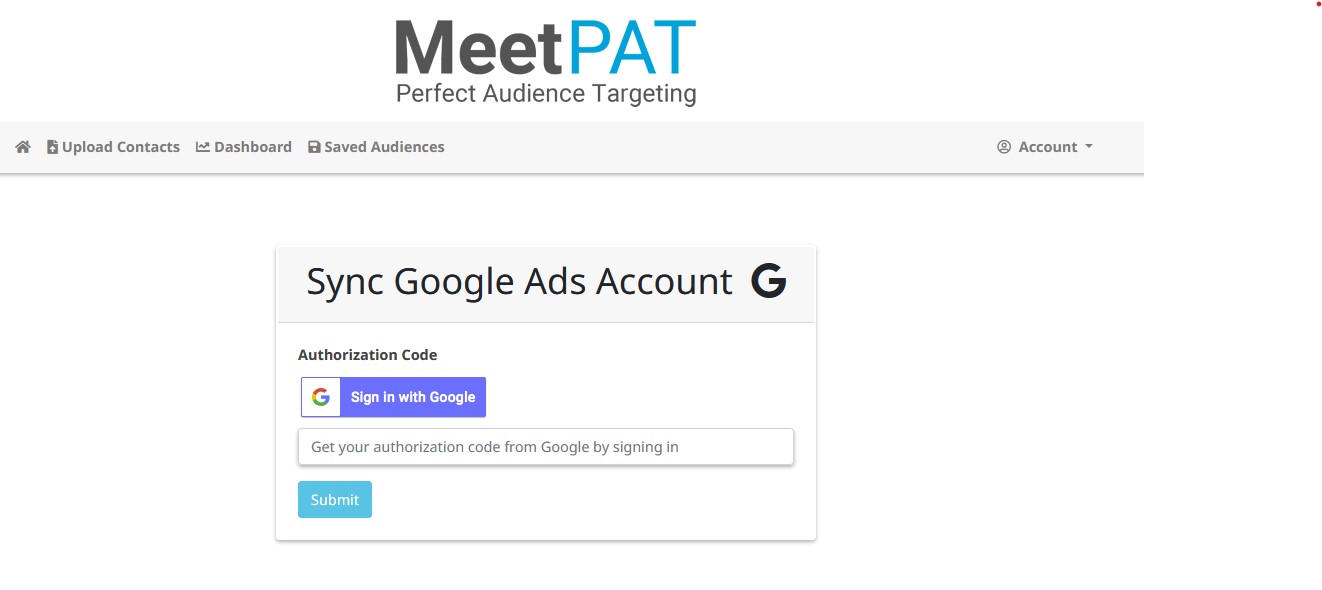
3: Click “Sign In With Google” to generate your authorisation code.
Please Note: You cannot link an MCC account to MeetPAT. The account which you link to MeetPAT (your "authorisation" account), must have access to the Ads account to which you wish to upload your custom audience.

If your authorisation account has access to multiple Ads accounts, MeetPAT will detect all of them, and ask you to select the account to which you want to upload.

Please ensure you select the correct account. Attempting to upload contacts for the wrong account can result in loss of data, erroneous filtering and inaccurate targeting, as well as causing a breach of the POPI Act.
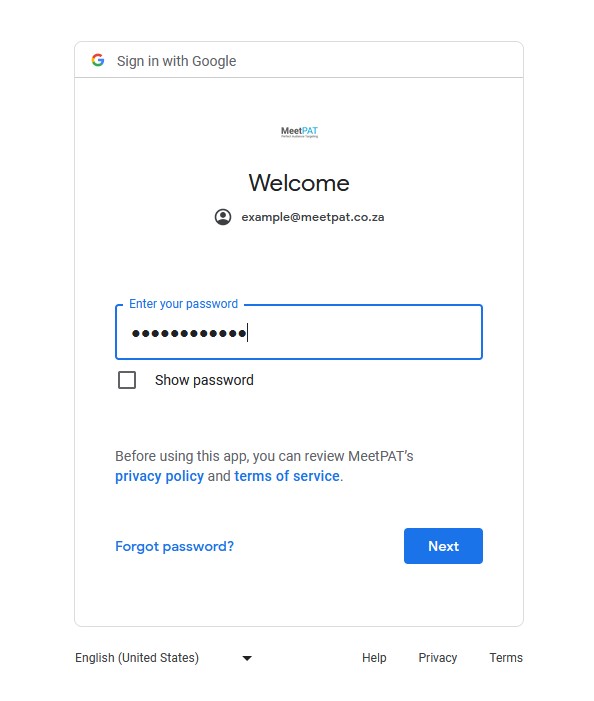
4: Select the account which you will use as your MeetPAT authorisation account and sign in via the Google interface.
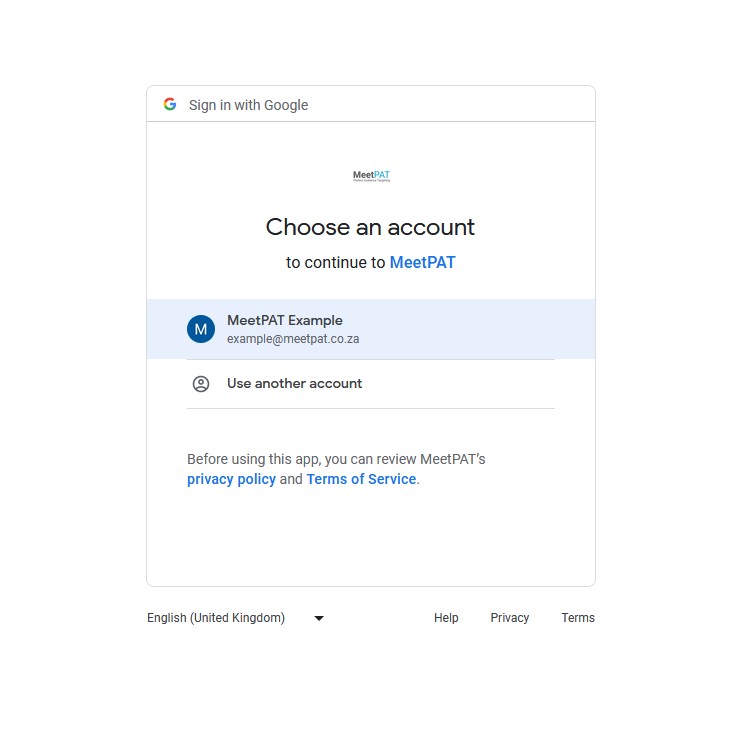
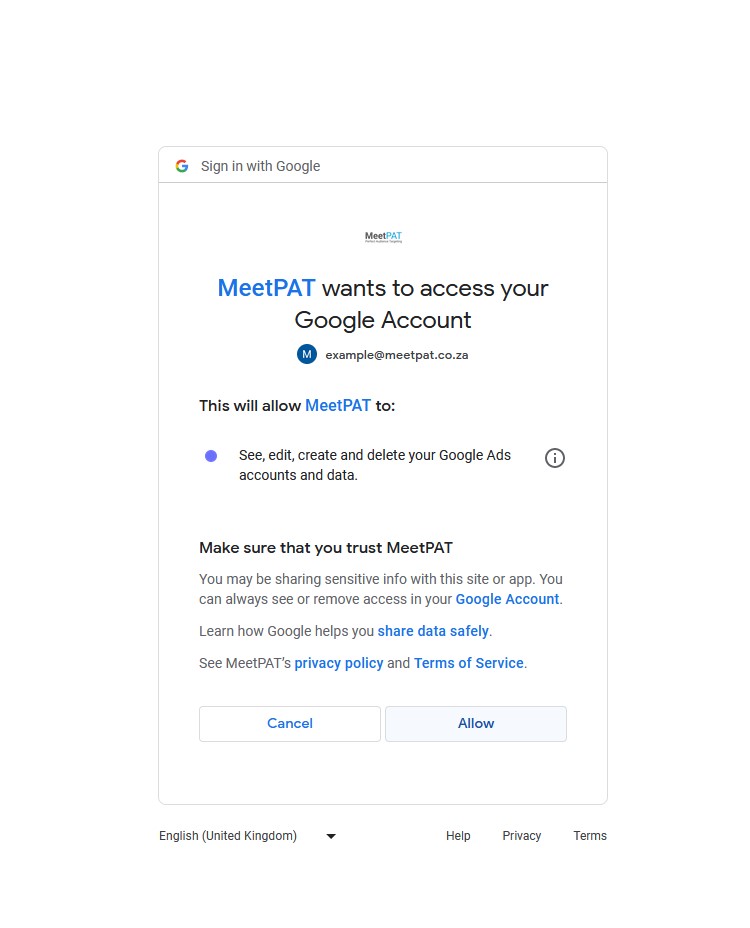
5: Grant MeetPAT permission to access the Google account.
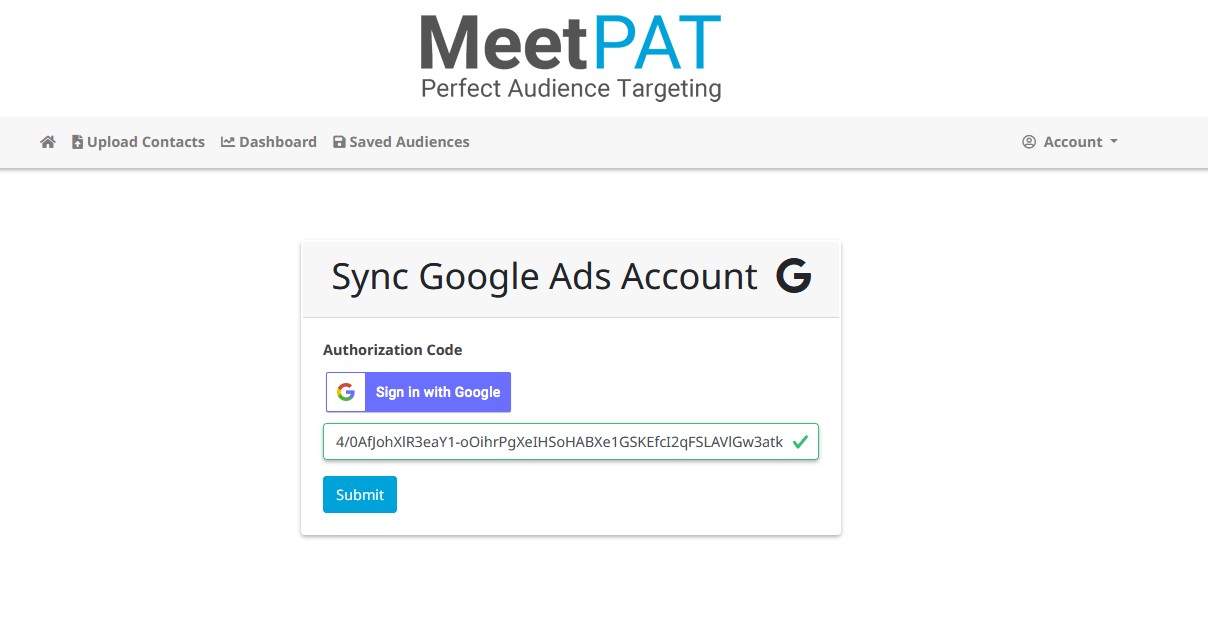
6: Your authorisation code will be automatically generated by Google. Once it shows in the field, click “Submit.”
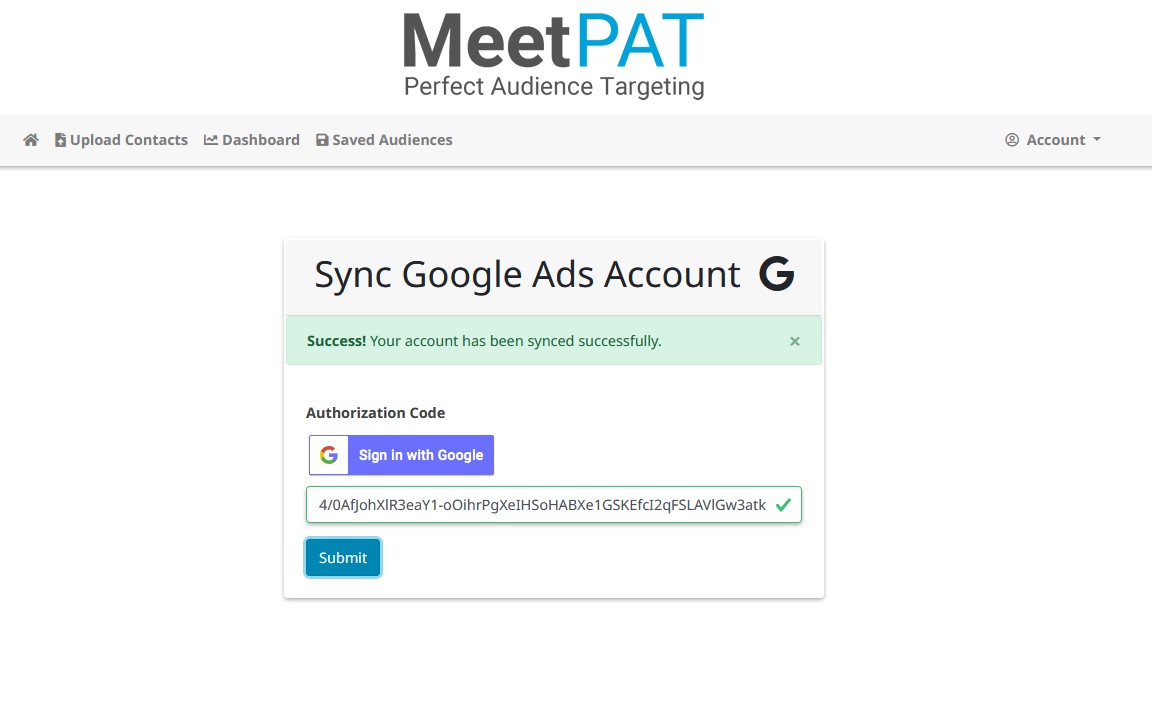
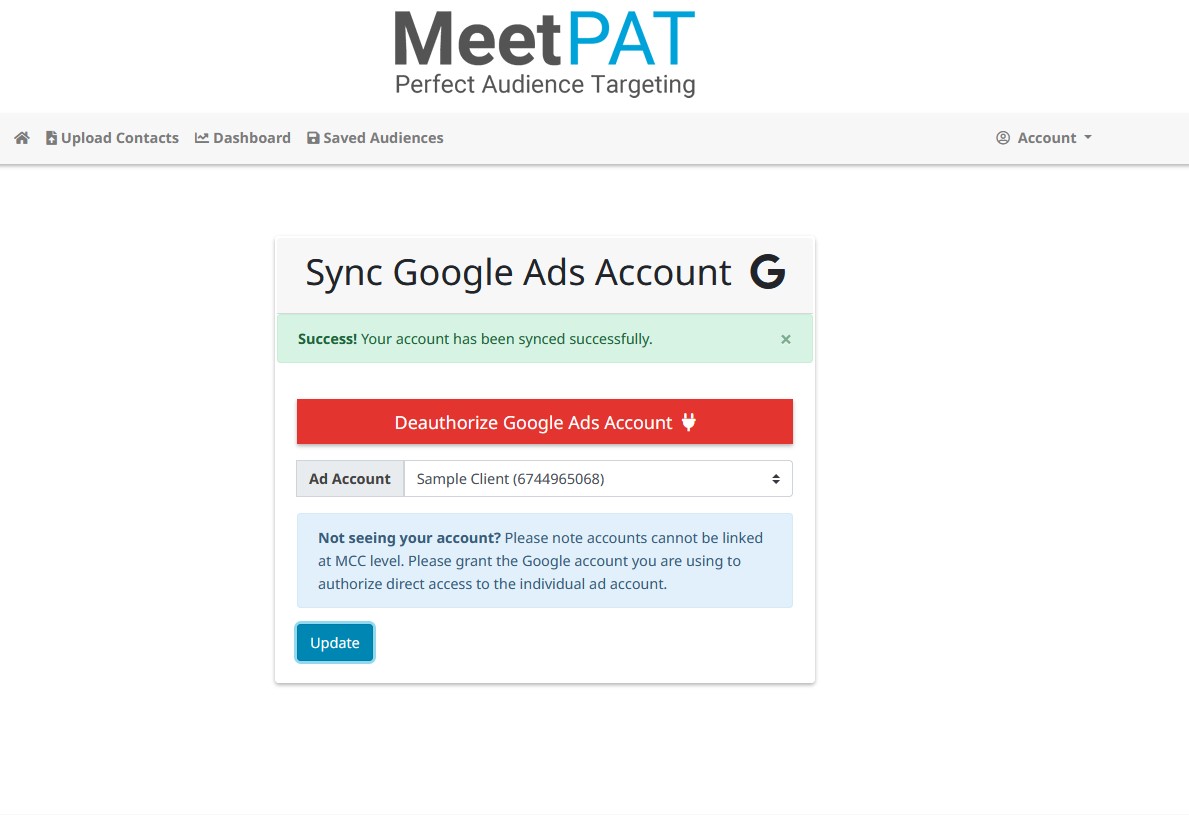
7: You’ll see a confirmation message on-screen to show that your account has been synced.
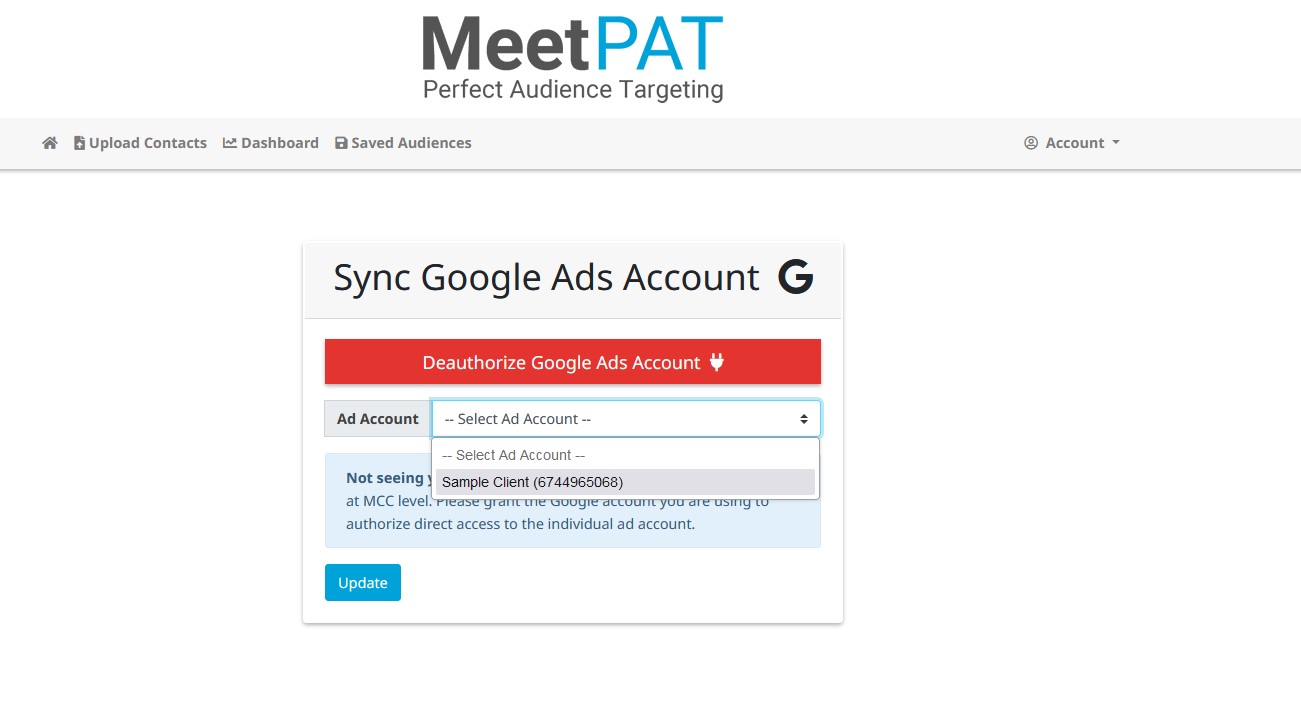
8: On the next screen, you’ll be able to select the Ad account to which your authorisation account is linked. Select the client account and click “Update” to confirm the account to which you will be uploading audiences.
9: Once the account has been selected, you’ll see another confirmation, and the account name will be displayed as the “Ad Account.”
Please Note: If multiple accounts are linked to the authorisation account, all these accounts will be shown as available for Ad Account selection. (See below:)

It is critical to select the correct Ad Account to which you will be uploading. Selecting the incorrect account can have a significant impact on campaign performance etc.